
Welp, we survived. One full year of parenthood. The late nights, early mornings, breast feeding ups and downs, emotional roller coasters, highs and lows, fights, baby cuddles, milestones, bumps, bruises, giggles, cries, teething, ginormous poops, spit ups, fevers, stroller schlepping, tears, yelling, singing, laughing, heart-bursting-right-out-of-your-chest first year of raising a child is behind us.
So, like any parents do, we celebrated baby H’s first birthday in style. With lots of drinks.
Christian and I are fairly…preppy. We love a good Tommy Hilfiger sale, freshly pressed collared shirts, gorgeous pair of loafers and old fashioned lawn games. Yep, we’re those people. I, in particular, also have a slight obsession with the south. I actually have a theory that I was meant to be born in Georgia, South Carolina or perhaps Tennessee. I love all things southern charm: wrap-around porches, big hats and of course…the Kentucky Derby. (Fact: Attending the Kentucky Derby Race is actually on my life bucket list). So, we decided to bring the Derby to Toronto! Self-serving party theme? Maybe.
First up: a fun and creative welcome sign for our front door. I wanted to mimic a First Place ribbon from a race; this was super easy to do using:
- a party “fan” decoration from the dollar store
- glitter paper
- white & blue bristol board
- Hot glue gun
- mini star hole punch

Just as I did for my mother-in-laws British Invasion themed 60th birthday party, I love to spread little touches throughout the house during any party, and I squealed out loud when I found these incredible and FREE (free!) Kentucky Derby themed printables on Pinterest from the Hostess with the Mostess. Simply amazing coordinated ready-to-print cut outs from cupcake toppers to bunting banners.
Check out the framed sign and win-place-show flags below:
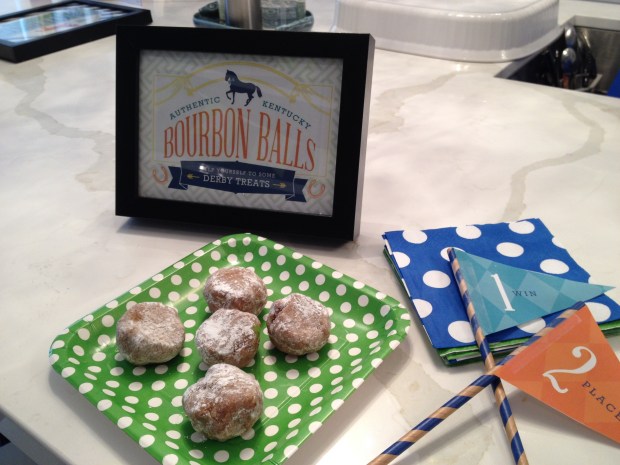
What’s that? You’re wondering about those Bourbon Balls? Don’t you worry – I’ll be sharing that recipe shortly. My sister-in-law even voted them MVP of the party (next to baby H, of course!)
For the living room, which is a bit more formal feeling and also happens to be the room right at the entrance of our house, I opted for something a tad more fancy.
I found the “Run for the Roses” themed printables on-line at Polka Dot Chair …also FREE…also AMAZING. I loved the classic black-and-red color theme so much that I had to include it too. The black and red mini paper “fans” were actually left over from my friends little mans’ first birthday, so they were also FREE (do you see a theme here!?)

One of my favourite little details came from my dear friend Alison, who not only grew up riding and racing horses, but who has actually BEEN to the Derby! She dug up some old ribbons from Carriage Races her family had placed in and they were such a welcome and authentic addition to the decor around our home:

In keeping with the theme, it only seemed appropriate to tweak the traditional “pin the tail on the donkey” game. I bring to you: Pin the Baby H Jockey on the Horse! Big shout out to my friend Charlotte for masterfully photo-shopping H’s head onto the jockey. Such an awesome touch – it’s already been saved in his baby book!

You can find both the poster and jockey printable (you guessed it…also FREE!) here at Hostess with the Mostess as well)
We tried to stick to southern-style cooking as best as we could, while also offering some healthier options (we are the “Happy Healthy Huggetts” after all!). My mother-in-law whipped up some delicious finger sandwiches, our friend Merv made his epic Mac’n’Cheese (rumor has it he used FOUR bricks of cheese in that baby), and Christian and I made:
- This super easy slow cooker pulled chicken from Clean Eating Magazine (I will absolutely be adding this to our regular meal planning rotation!)
- Kale & Strawberry salad from Cookie and Kate (which also happens to be my absolute favorite site for healthy versions for those with sweet cravings like me)
- Kentucky Hot Brown Dip (a much lower fat version of the original Derby classic dish thanks to Cupcakes and Kale Chips)
For dessert, we didn’t want to give baby H a complete sugar rush on his first time having something truly sweet, so we opted for these Mini Chocolate Quinoa Cupcakes with Avocado Icing. (TIP: They are very cocoa heavy, so if I were to do it again, I would pick to either do the cake OR the icing as cocoa-based, not both)
Here is Baby H giving the cupcake a try (he wasn’t so sure about them)

Oh…and about those Bourbon Balls. Yeah, there’s NOTHING healthy about them. But boy were they good. You can find the recipe here – we doubled the amount of Bourbon, because, why not?
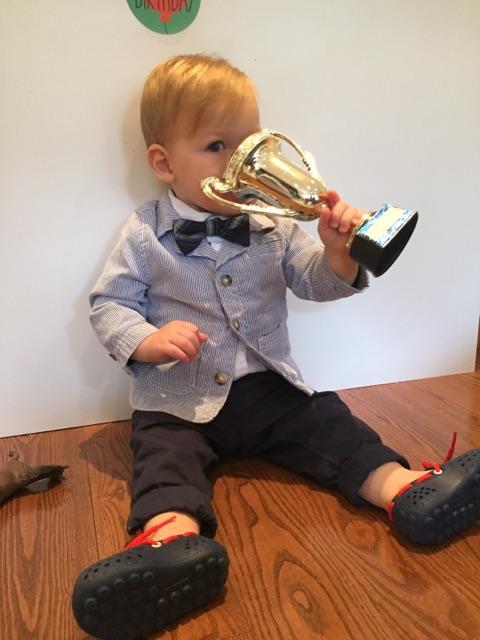
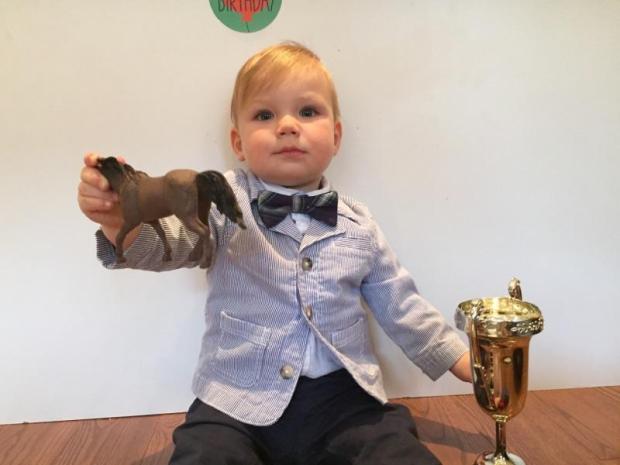
And the birthday boy: he certainly looked the part. I bought this seer-sucker blazer off another mom in one of the on-line buy and sell groups I’m a part of for $8 when baby H was about 6 weeks old. I hadn’t planned the theme for his party yet, but I KNEW he was going to wear it. And wear it he did.
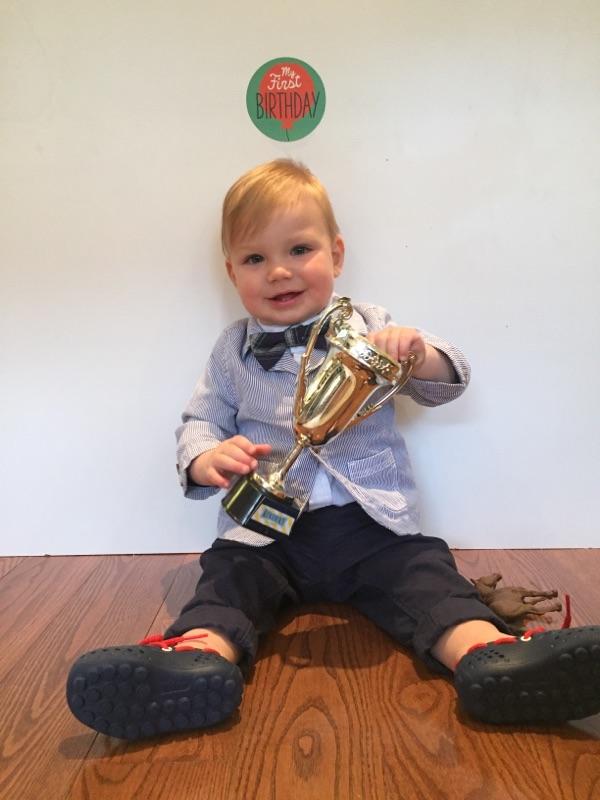
The bow-tie actually makes my heart melt.
… BOTTOMS UP to a fantastic FIRST BIRTHDAY celebration!! Happy birthday my love!