
Well, this blog has been on a loooong hiatus. So long in fact, that I’ve gone through an entire pregnancy and now have a 4-month old son since my last post! Oopsie. Umm…time flies?
But, there’s no post that has excited me more than this one, so let’s get things rolling again on here! It’s time to share the story of Baby H’s nursery (in several parts, because there’s far too many details to share in just one post!)
It took zero time to come up with the theme for this room. Yes, I decided on the nursery theme of our future child long before he came along…err…dare I say, long before he was conceived!? Seriously, I think I’ve had this theme picked out for about two years. Those of you who know me know I have a love for major obsession with all things nautical. Perhaps it is a sub-conscious nod to my west coast upbringing? For whatever reason, it had to be addressed, and what better room to address it in that a sweet baby nursery.
Nautical can be done in so many ways. You’ve got your “Nantucket Nautical” with navy blue, red and white and lots of lighthouses and lobsters; you’ve got “Beachy Nautical” which is very soft and neutral, and I came up with “West Coast Nautical” as the type for this room. Think Nantucket-meets-Beachy-Nautical 🙂
Enter my Pinterest Board, which slowly evolved into the style that we landed on many months ago. This lovely collage is the one that caught my eye as the overall “look” we were going for:
 One of the first things I bought was this amazing stencil from Cutting Edge Stencil, appropriately named “Perfect Catch”. It seemed like a good idea at the time, stenciling the entire room. But then my brilliant husband came up with the idea of add some wainscoting into the room as well. He’s been wanting to try his hand at DIY wainscoting and this provided the perfect opportunity. Yes, I love that he gets excited about this stuff too.
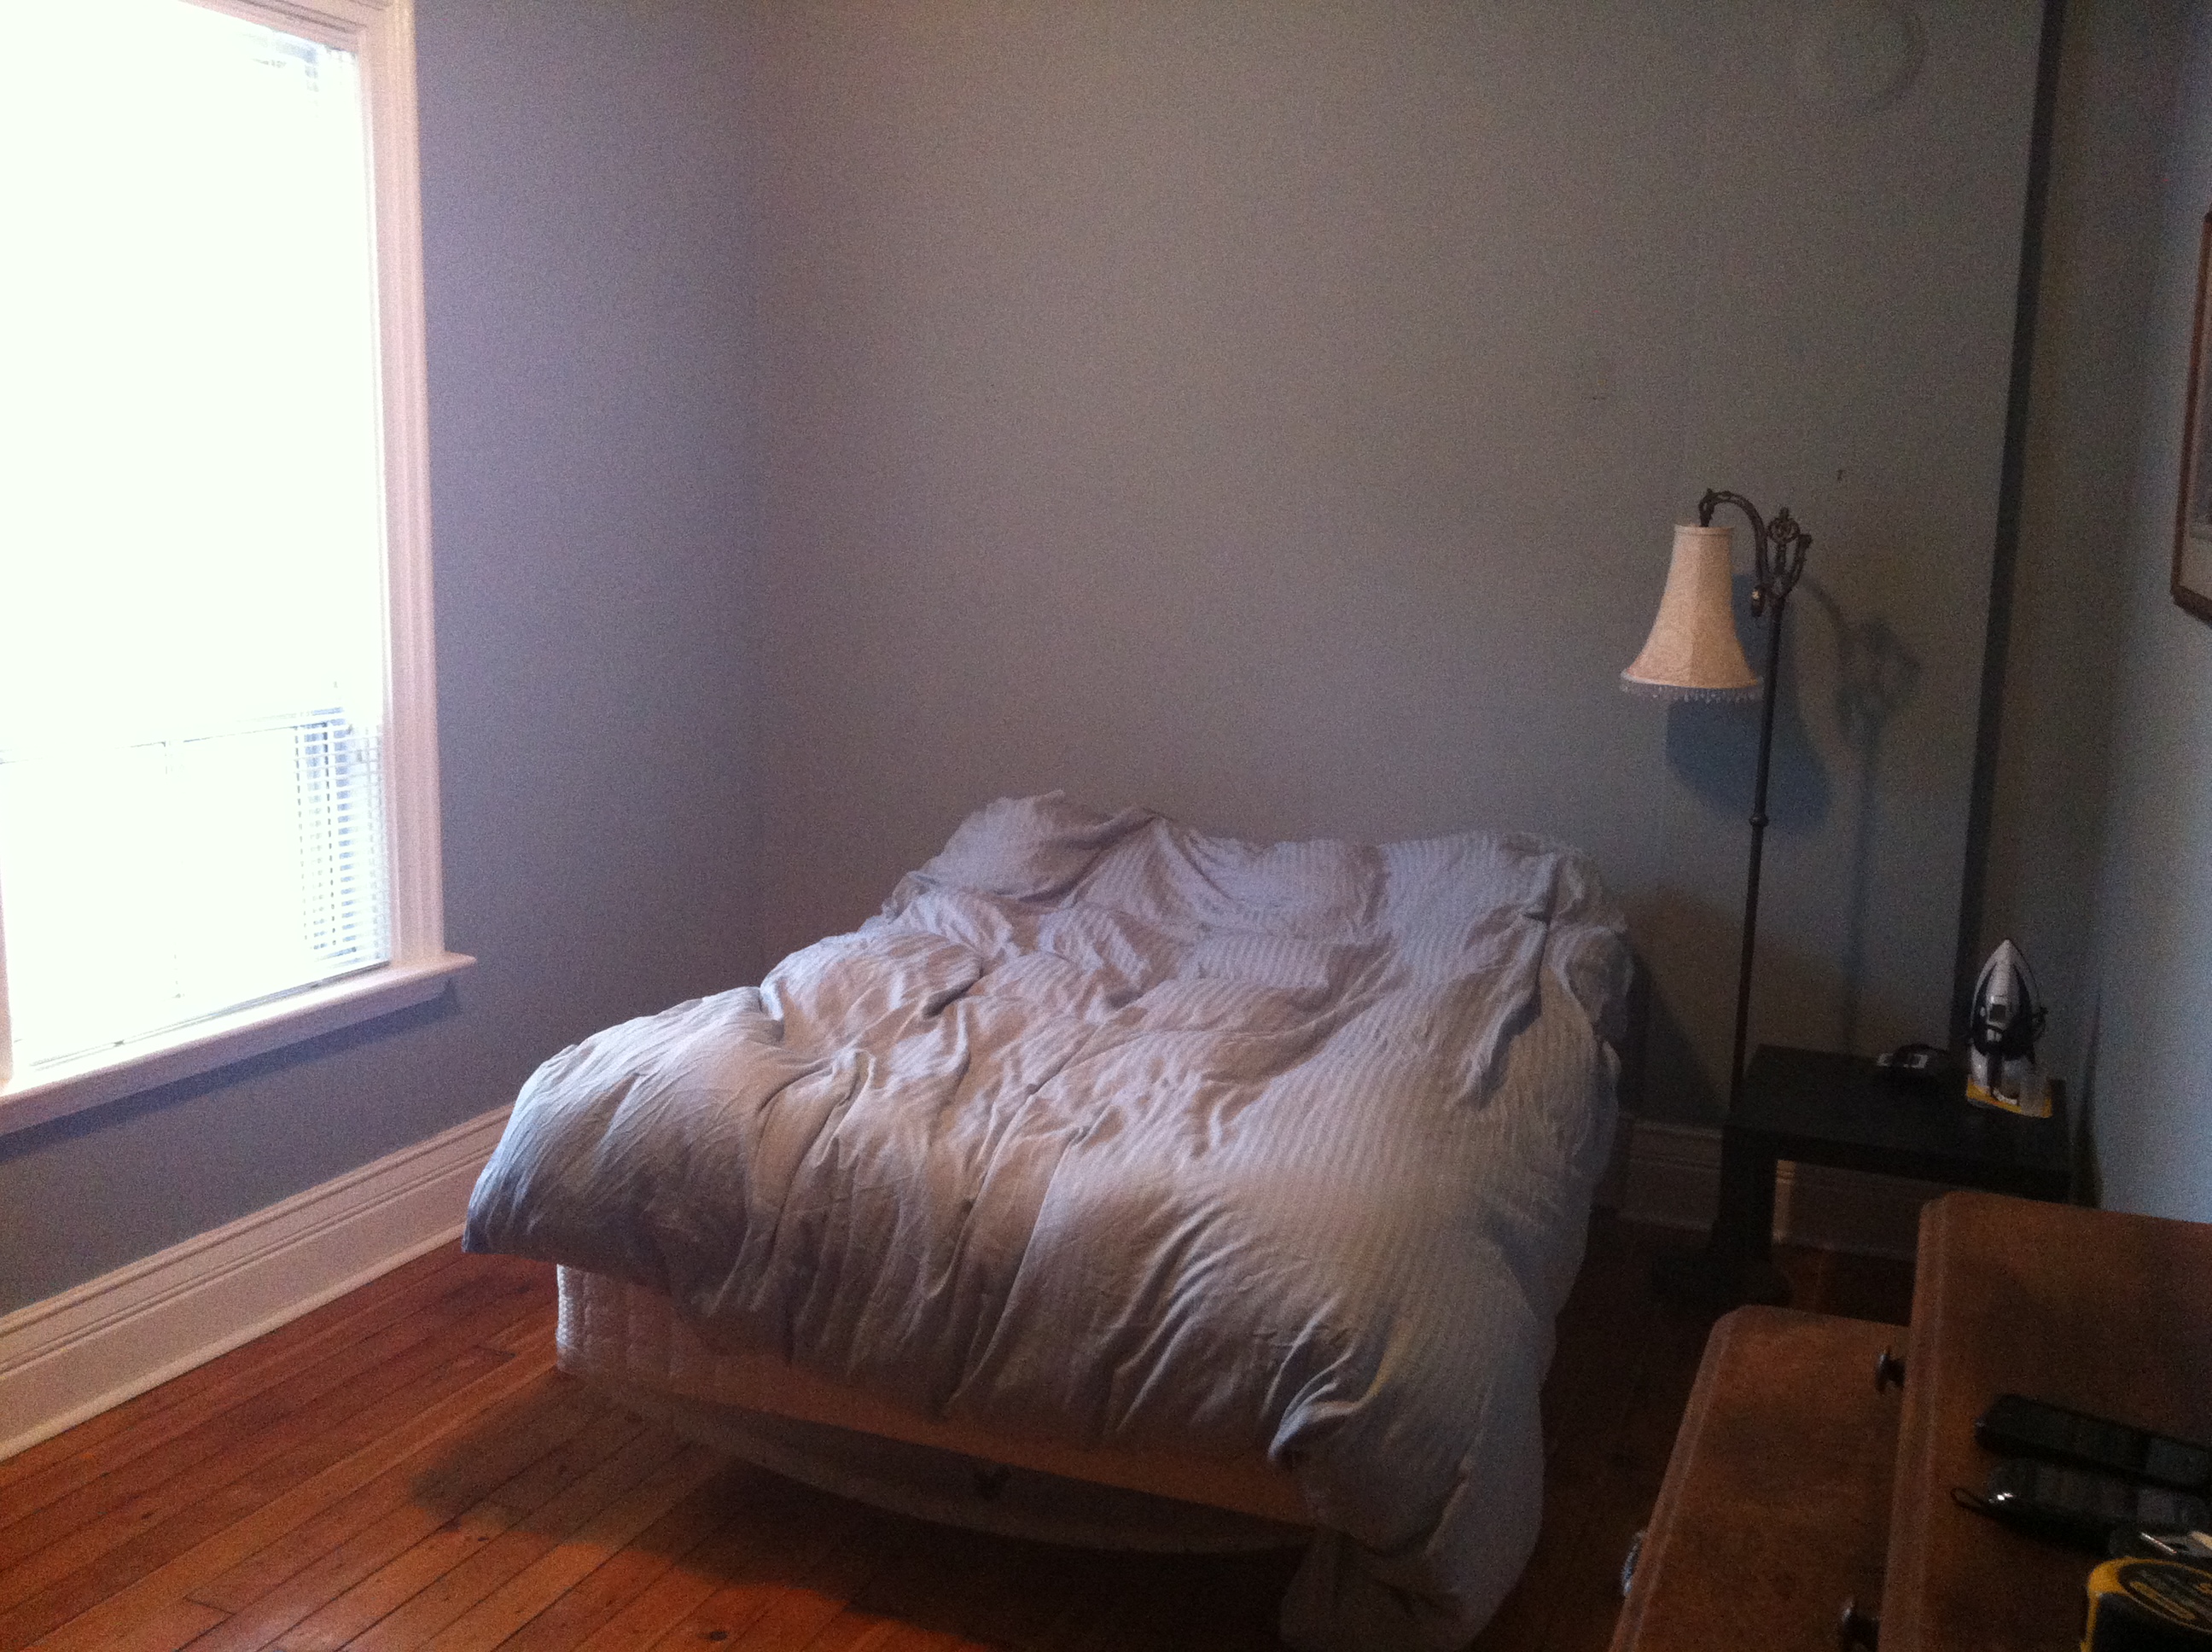
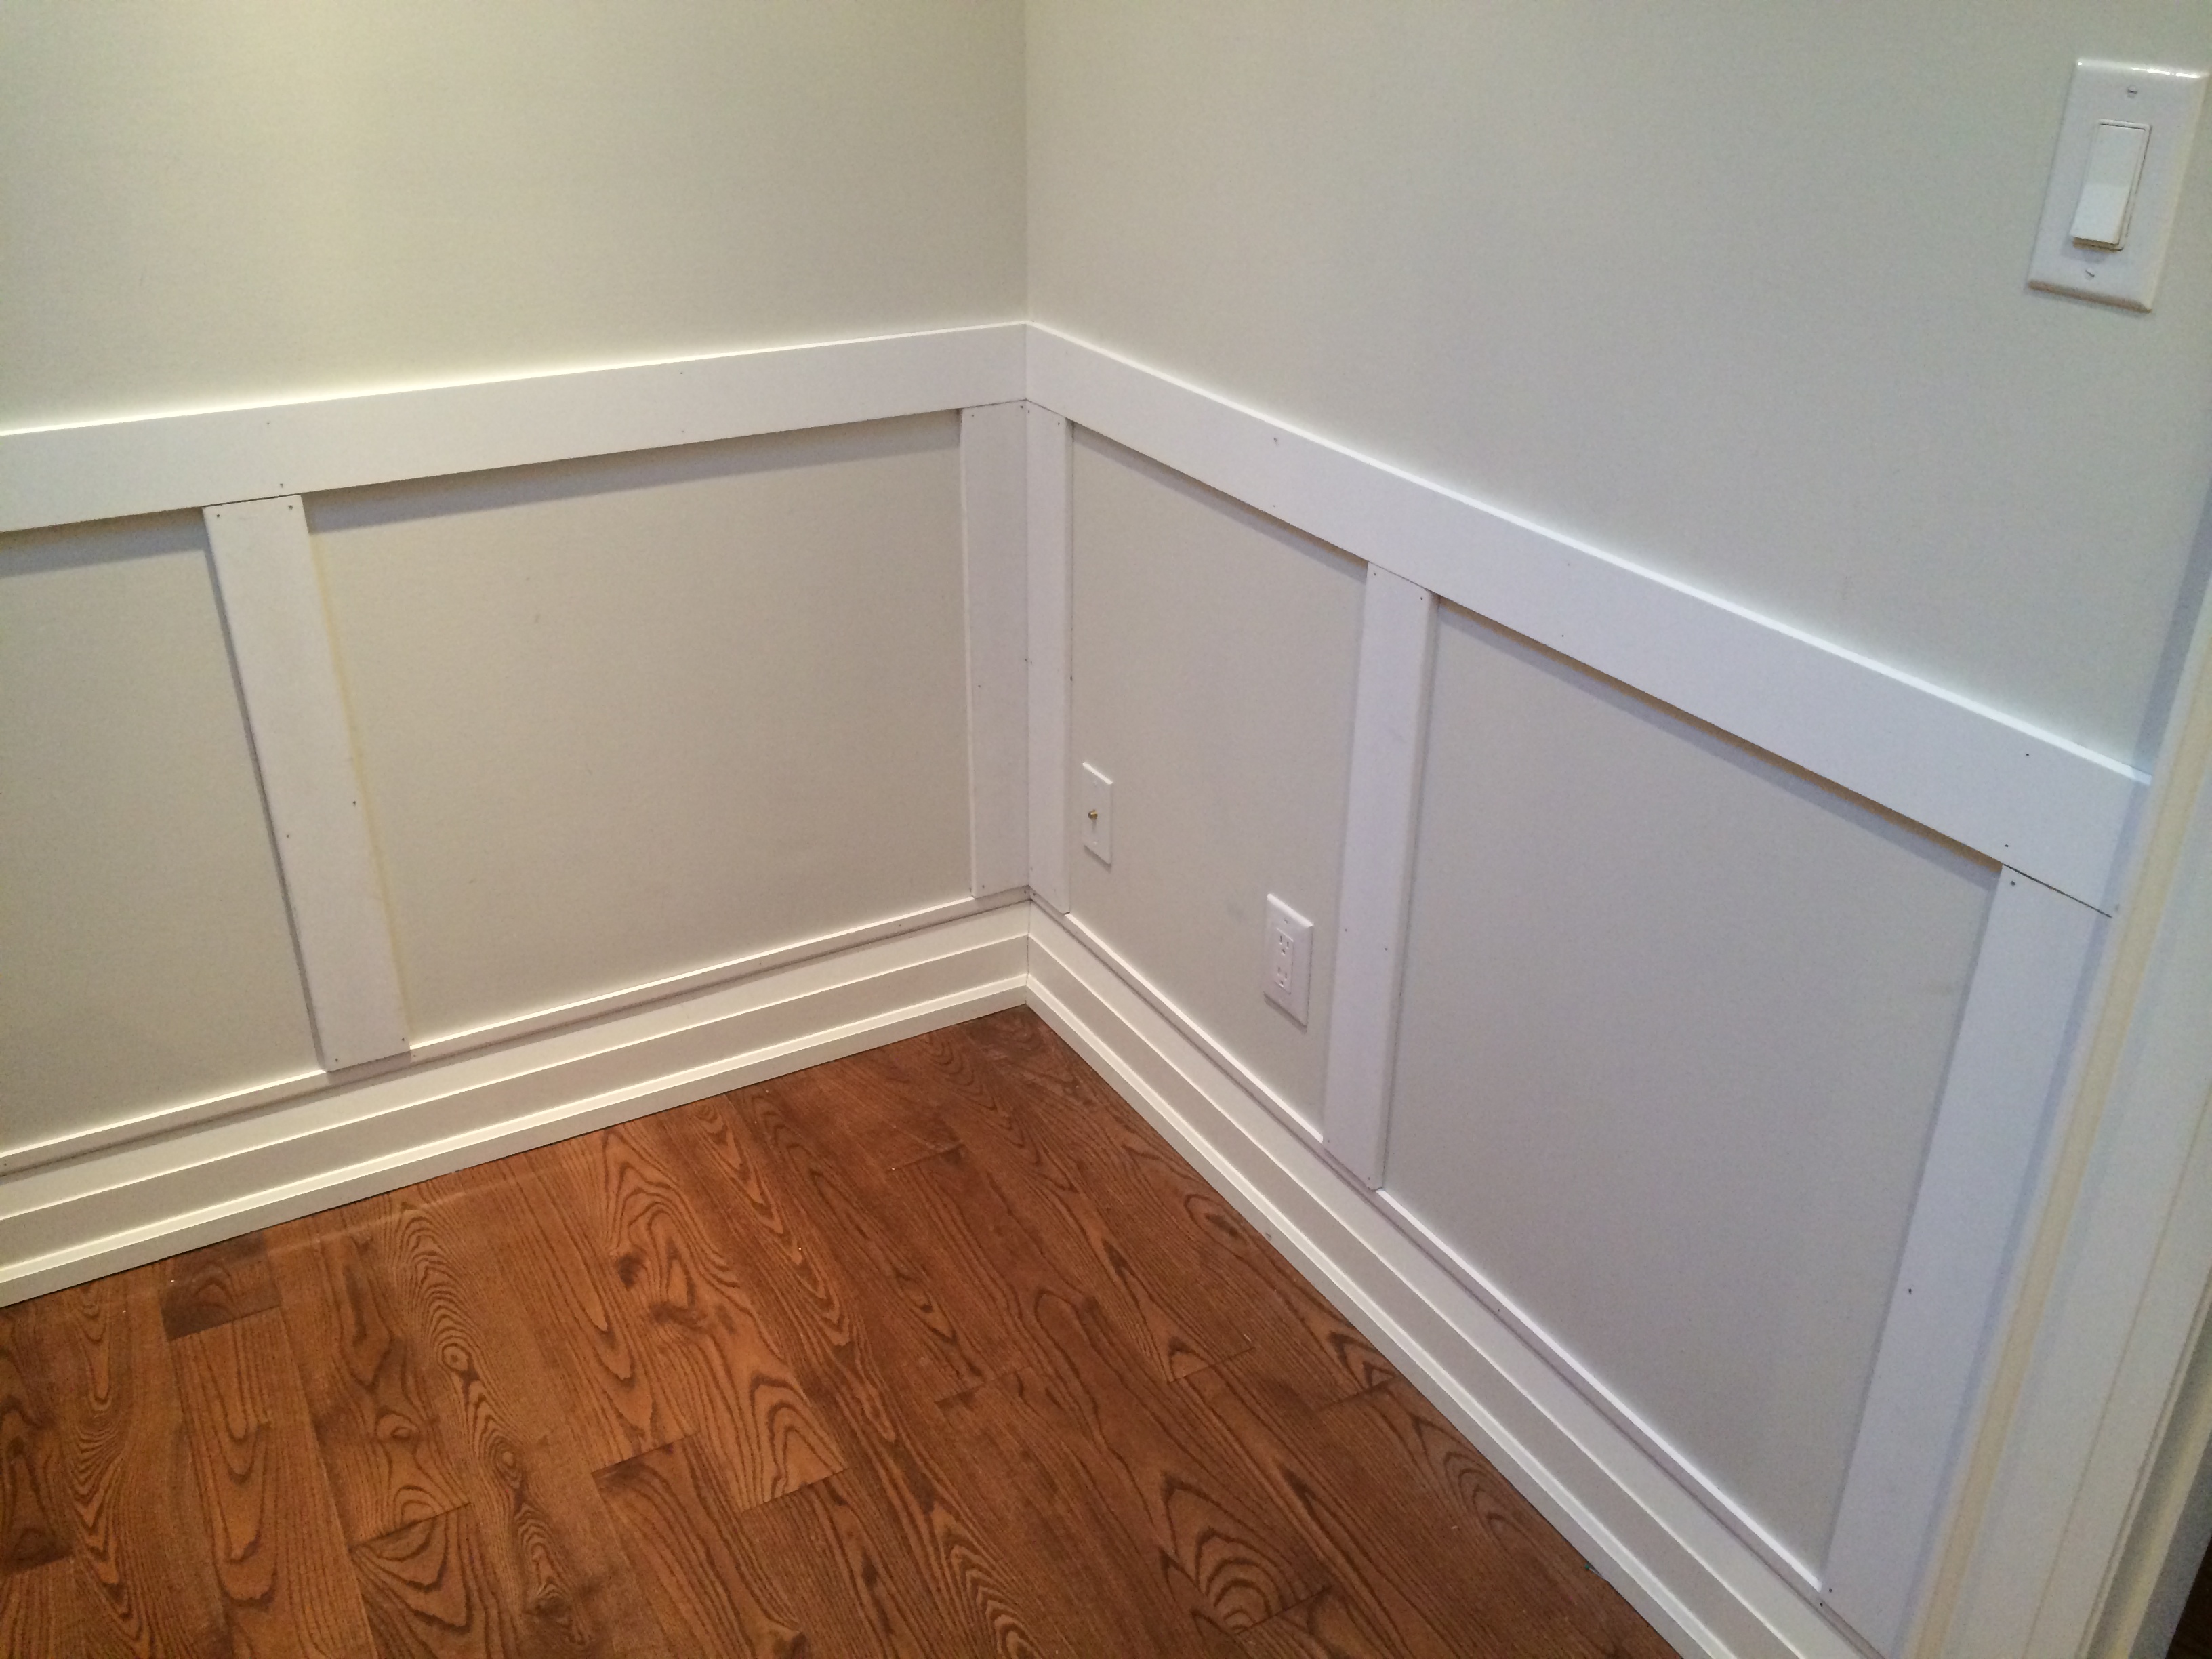
After we cleared out the stuff from our “home office” (which we quickly realized we never used…no harm done making room for baby!), the first step was to measure out the wainscoting. Christian used basic, pre-painted MDF trim from Home Depot. Starting in the centre of each wall, he measured out to determine the distance between each piece of trim.
Taking time with measuring is KEY. It’s all about the prep work. Christian also used a level and a chalk-line to ensure that everything was straight as an arrow.
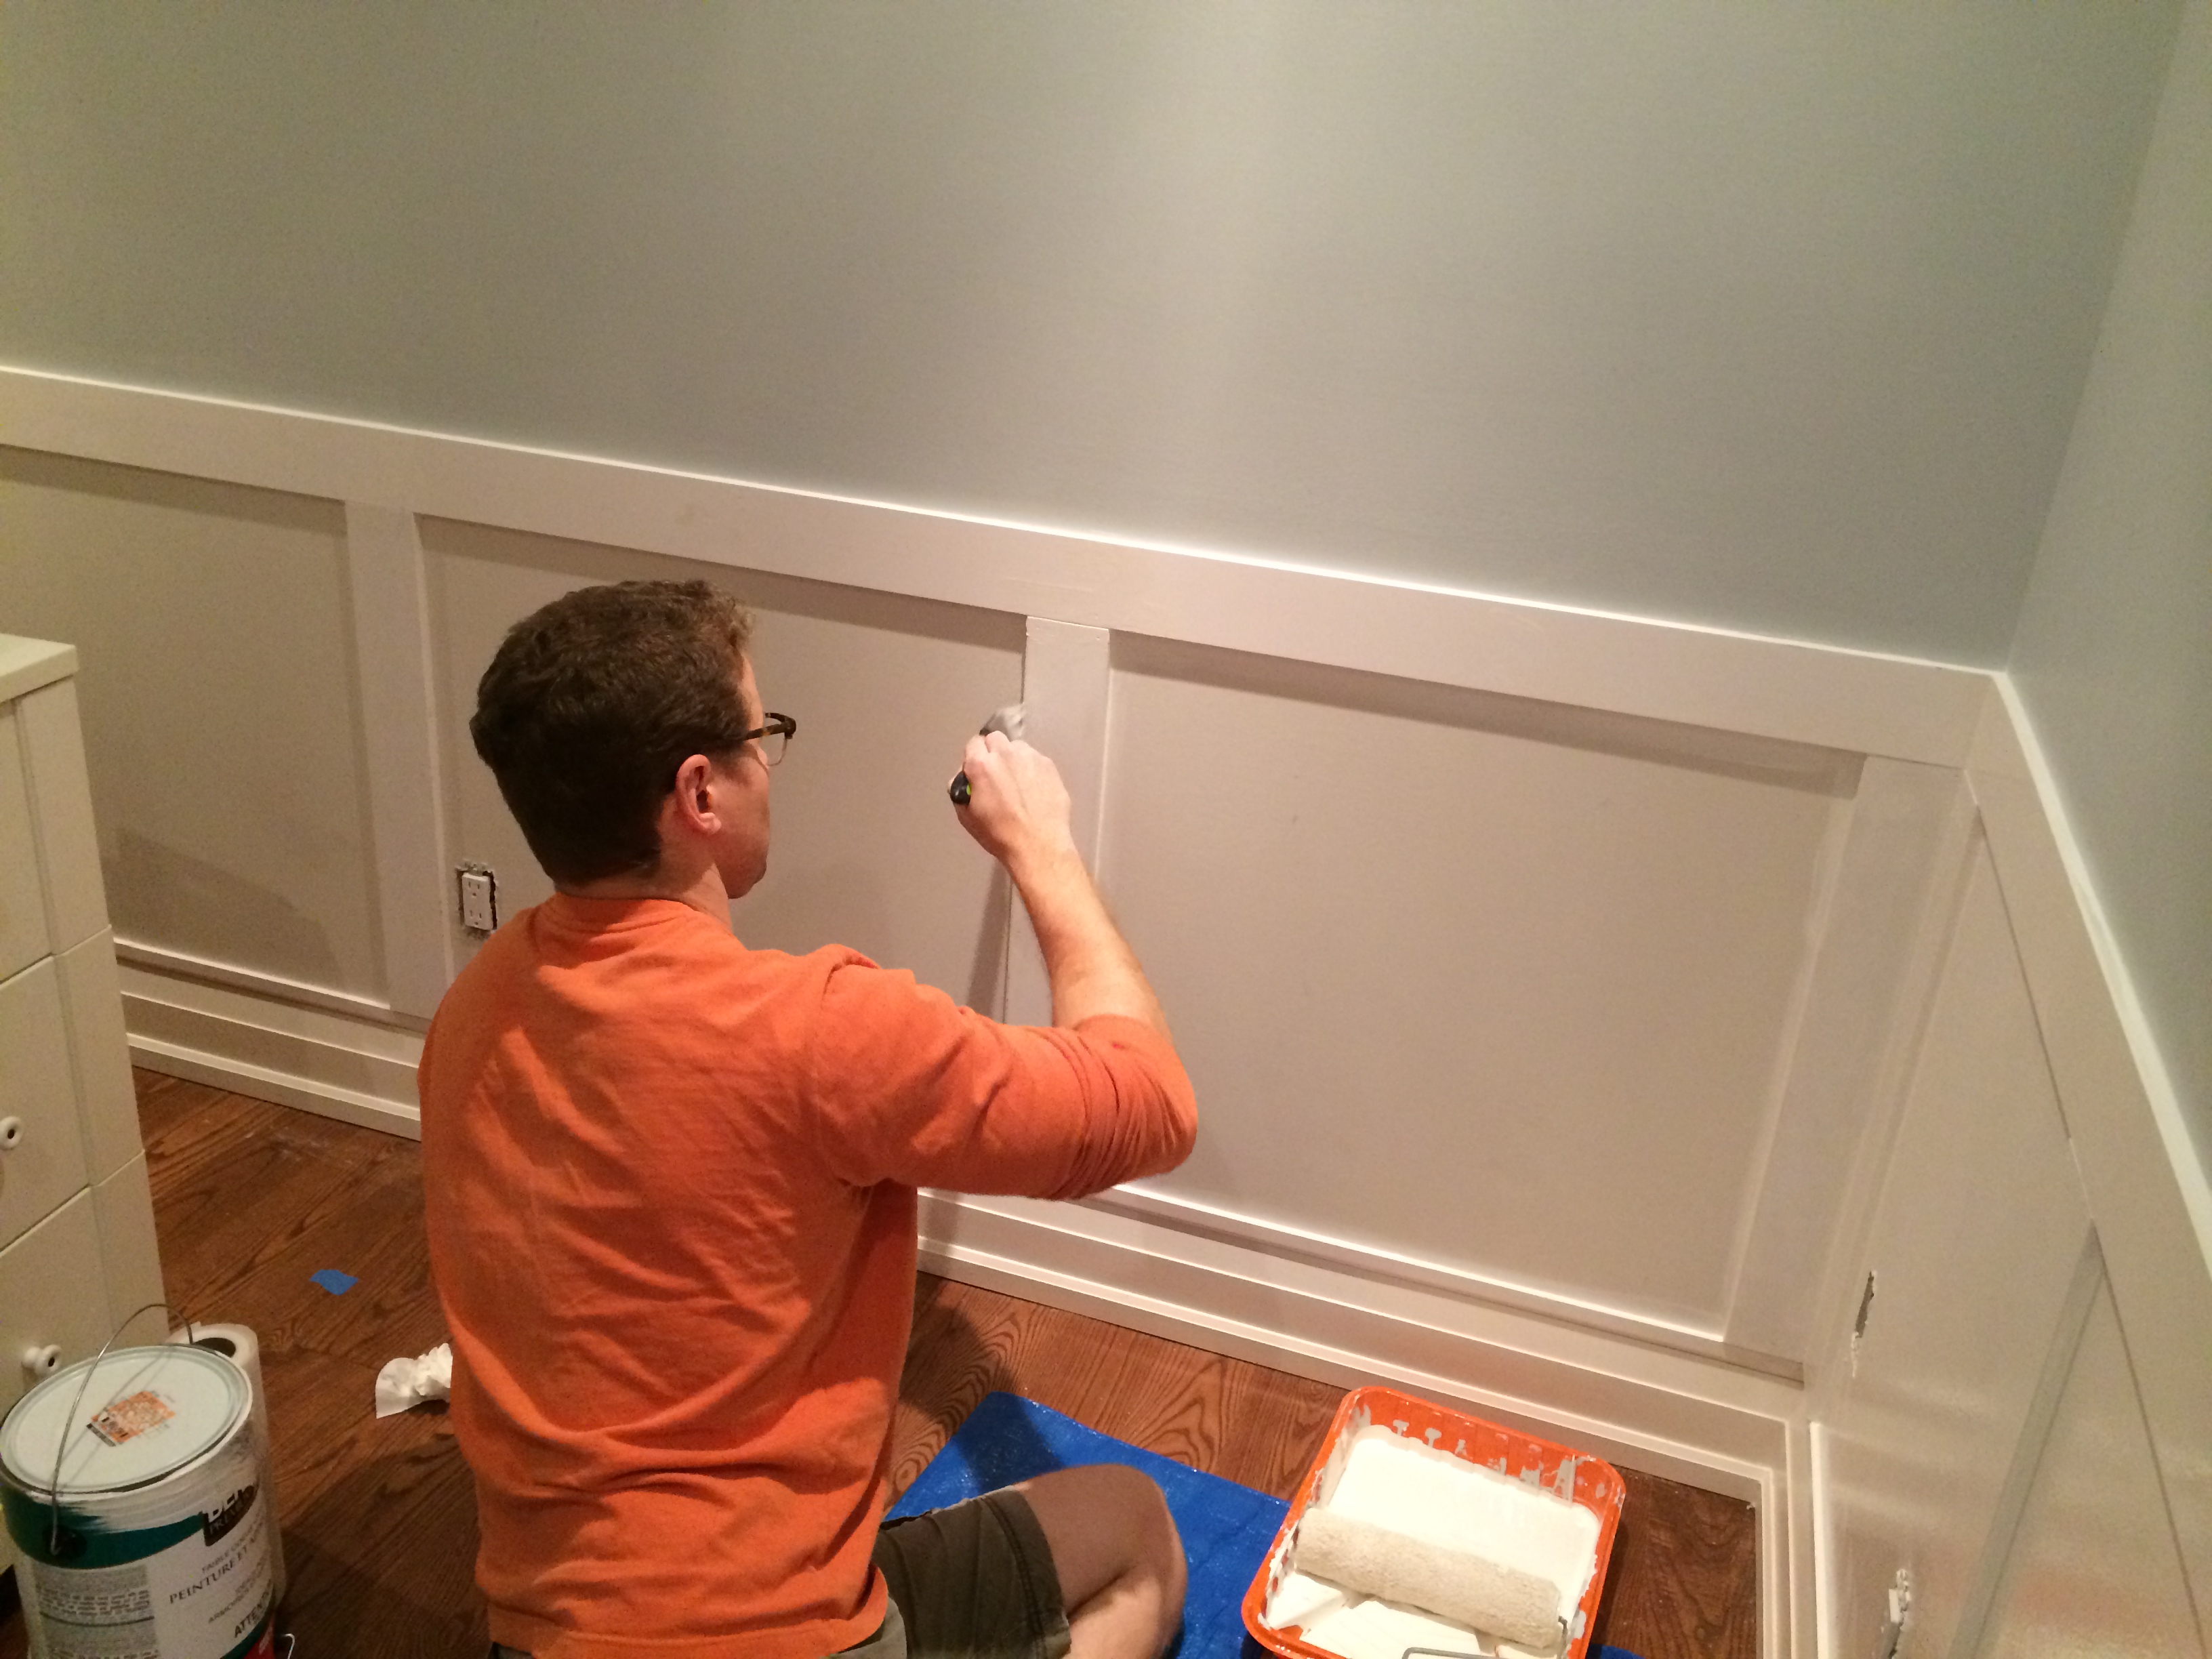
After filling in all the nail gun holes, it was time to paint the lower half of the room in good ol’ Benjamin Moore CC-40 aka “Cloud White”, which is the colour of all the trim in our house.
What’s clever about this method is that it gives the illusion of actual wainscoting but costs waaaaay less as you’re not actually covering the entire bottom on the wall in wood panels. (If you’re really interested in some home decor nerdery, here is the wikipedia definition. FACT: I knew what wainscoting was by the time I was 10 years old…missed my calling? Perhaps).
For the top half of the room, we chose a neutral blue-grey: CIL Paddlewheel Grey. We agonized over this colour because of the next, and very tedious step (no, no, wainscoting was not enough for baby H…we also stenciled the upper wall! And by “we”, I mean Christian).
Now, let me warn you: stenciling is NOT for the weak, procrastinators, or the impatient. In fact, it’s not for perfectionists either, which is an adjective that could be used to describe Christian. He. Spent. Hours. And I mean HOURS, stenciling this room. I think it took him two full 8 hour days to just get the stencil done. He vowed we were NEVER using a stencil again and I would have to agree, but I might try to convince him again (don’t tell him I told you that!)
But oh, the finished product…worth it!? We think so. I mean, I endured 10 months of being prego, PLUS labour, so I’d say we’re even now after the stencil incident.
Check out this beauty progress shot:
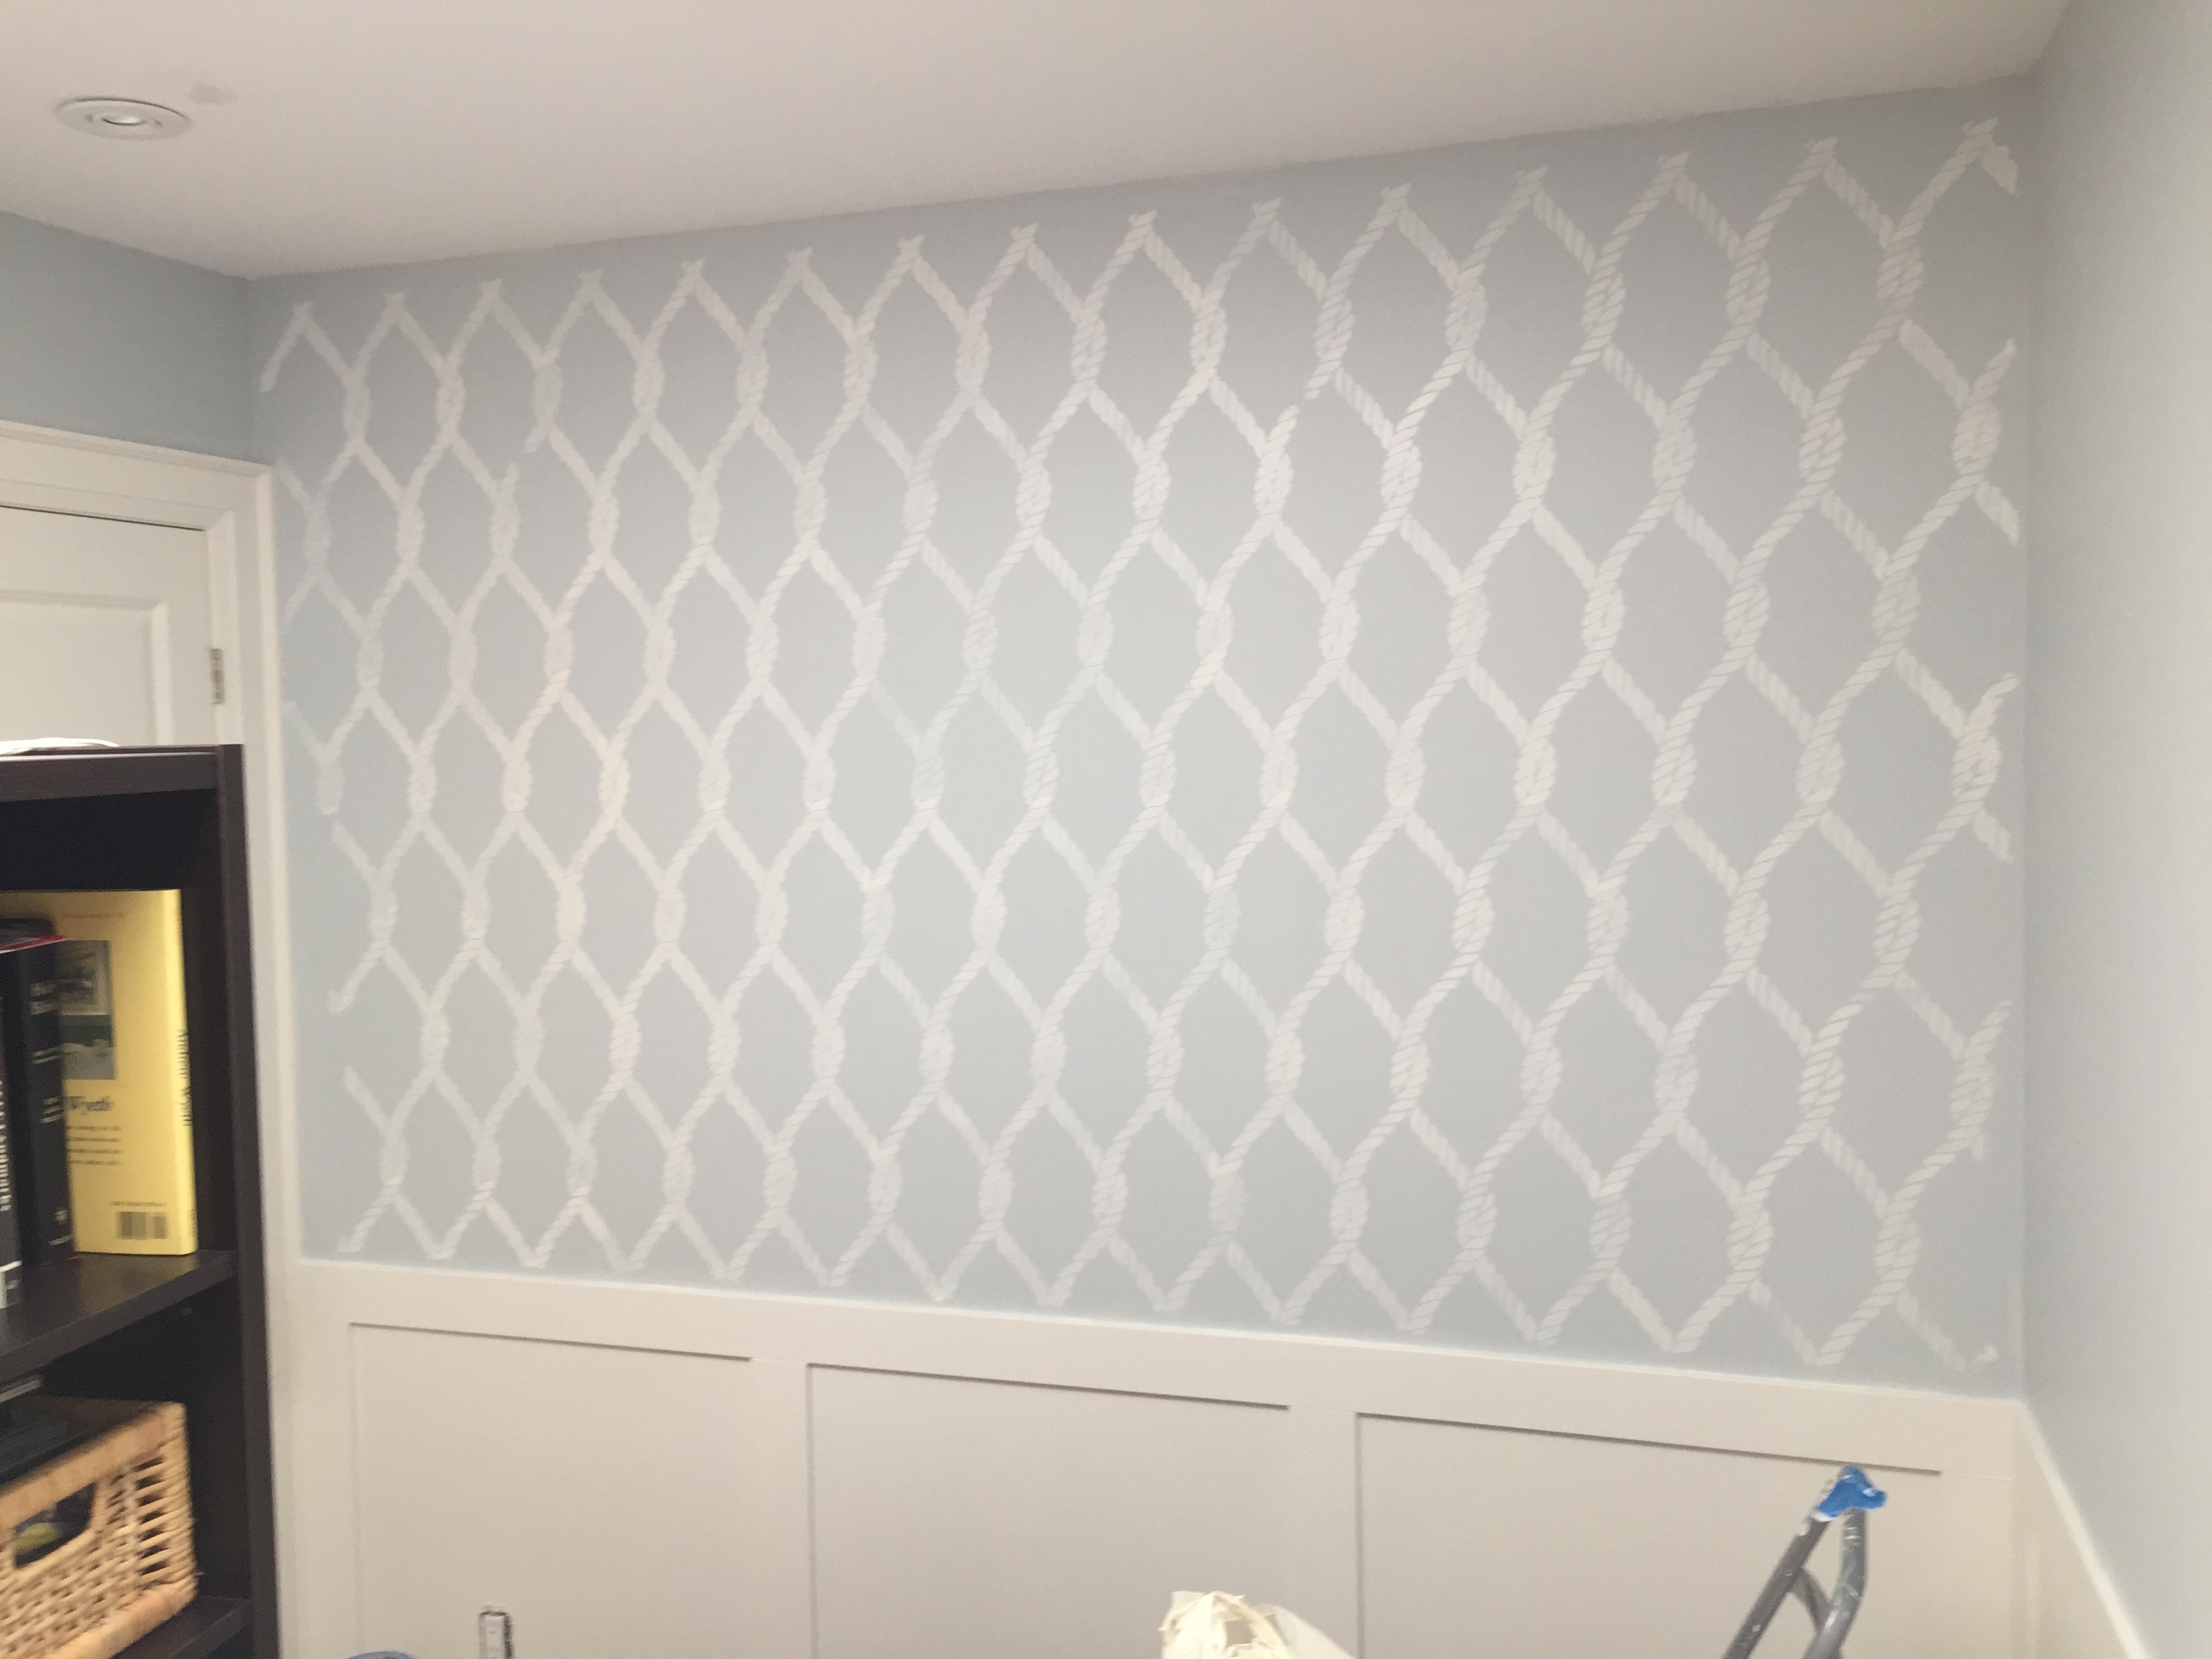
And no, we didn’t just opt for a feature wall. Christian stenciled the ENTIRE room. Initially we were worried it would be too busy (hence the concern over finding just the right base colour), but we were over the moon with the final result. I kid you not, everyone comes over and thinks its wallpaper, and Christian can’t help but beam with pride (how to compliment a perfectionist 101).
….looking for the final reveal photo? Sorry, you’ll have to wait until a few more posts! So much story to tell about this little room before I share the final result!
Come back and visit soon.
M